How To Start Out In Crypto
Last updated on February 8th, 2023 at 04:51 pm
Currently getting started investing and trading cryptocurrency is a bit of a process.
But not to worry, we are going to walk you through it, step-by-step.
However, you should know, that there are currently various crypto projects on the drawing board (and frankly some much closer to reality than that) which will make it easy for you and even your grandparents to be able to invest in and trade various cryptocurrencies including Bitcoin and much more.

These projects, once complete, will allow you to take your fiat currency and invest directly into the coin or token of your choice.
Once such project is Ethos.
Though nothing in our pages should be considered professional financial advice, when you start your crypto investments, you might consider making this part of you portfolio.
Learn more about the project here.
How To Get Started
So, getting started in crypto today means you must be able to change your fiat currency into some other coin that you can use to trade for the coin you desire – unless of course, you plan to invest in the coin you just purchased, such as Bitcoin, Ethereum or Litecoin.
So where do you begin?
You must start by getting your fiat currency traded into crypto. This means finding a cryptocurrency exchange.
Currently, the most user friendly exchange available is CoinBase.
As with most things, CoinBase comes with pros & cons. We will highlight some of those shortly.
But, as it goes for having a user friendly interface, currently, there is nothing better than CoinBase.
Register For CoinBase HERE – Get $10 in FREE Bitcoin
Once you get to CoinBase, click on the Sign Up Link at the top of the page.
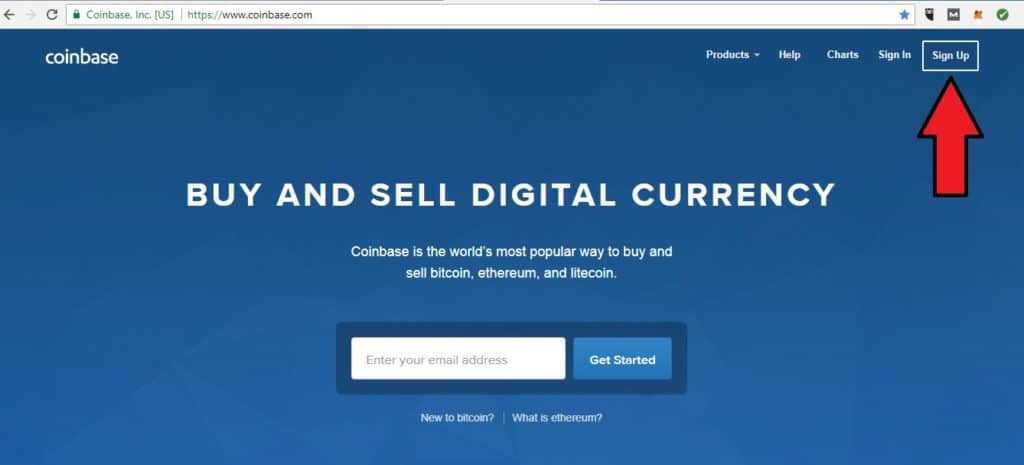
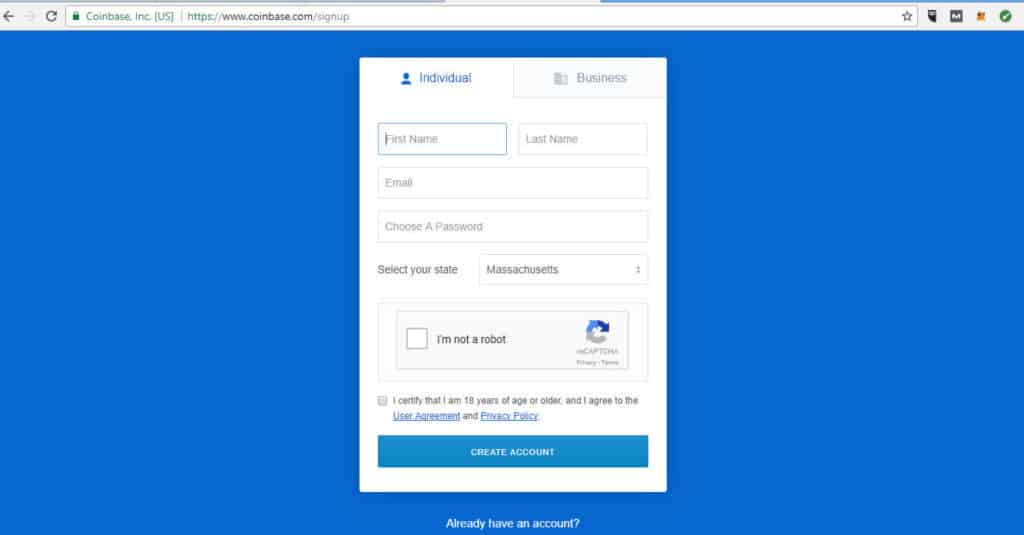
Once you do, another screen will open. This screen will request pertenant account information.
Now, as a Libertarian, I completely understand the need for anonymity. I also understand the desire for a smaller, less intrusive government… but that’s a discussion for another time….

In the meantime… there is some basic information necessary for these exchanges so they can provide relevant tax information to the government.
Regardless of your political leanings, I would never advocate trying to avoid paying your fair share of taxes.
That being said, all the information provided here will be from the perspective of a US resident and will be completely compliant with current federal tax laws regarding cryptocurrency.
Once you fill out the Sign Up screen with the proper info, you will receive an email confirmation to the email address provided.
Once you receive the email, click the link. This will verify your email address and will set you into the next step of the process.
You will be asked to sign in to CoinBase. Sign in with the information you just provided.
Once you are in, you will come to your dashboard screen.
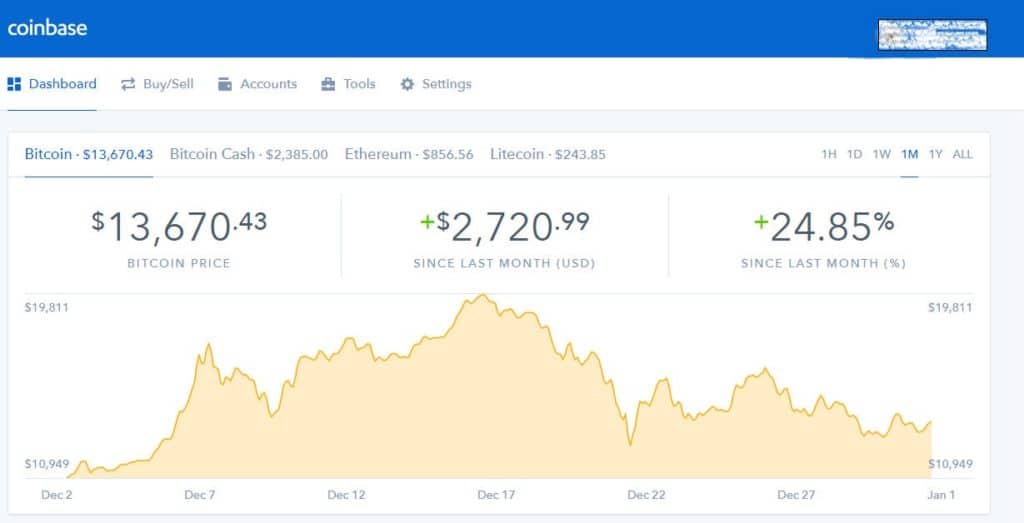
Once you have successfully logged in, I suggest that you take a few minutes to adjust your account settings and set up increased security on your account.
You can change the your account and security setting by clicking on the link in the upper right hand corner of your screen where your user name is located.
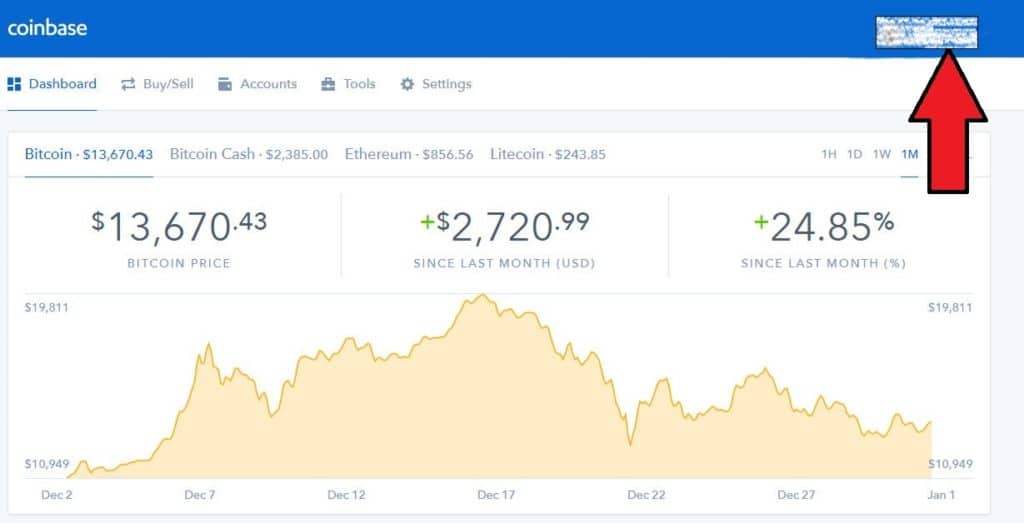
Open up the drop down and click on Profile.
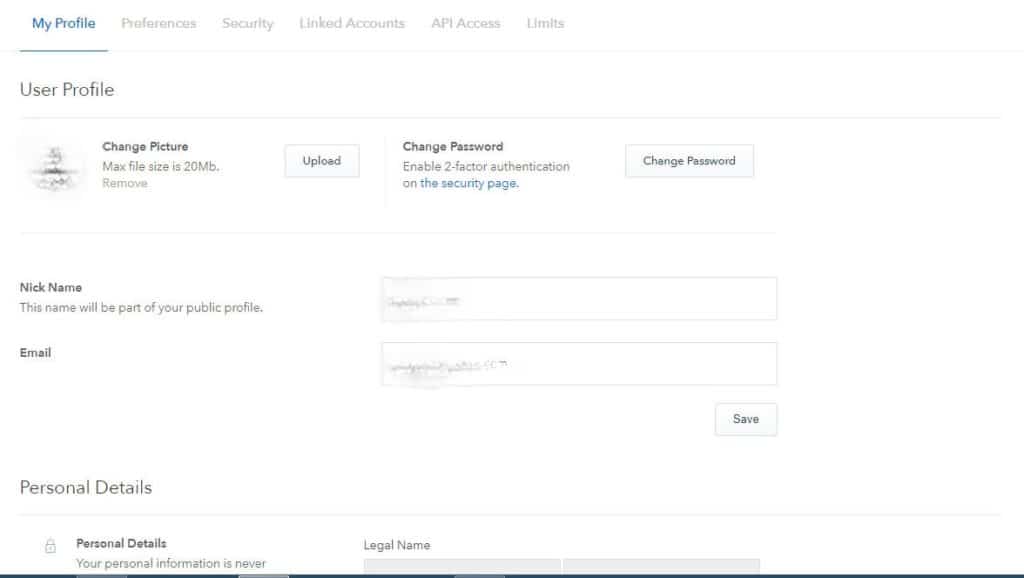
A screen similar to this will appear.
From this screen you can complete a mirad of functions. You will see several tabs.
My Profile
Under the My Profile tab you will be able to change or update your personal information. This information includes your user name, email, name, DOB and address.
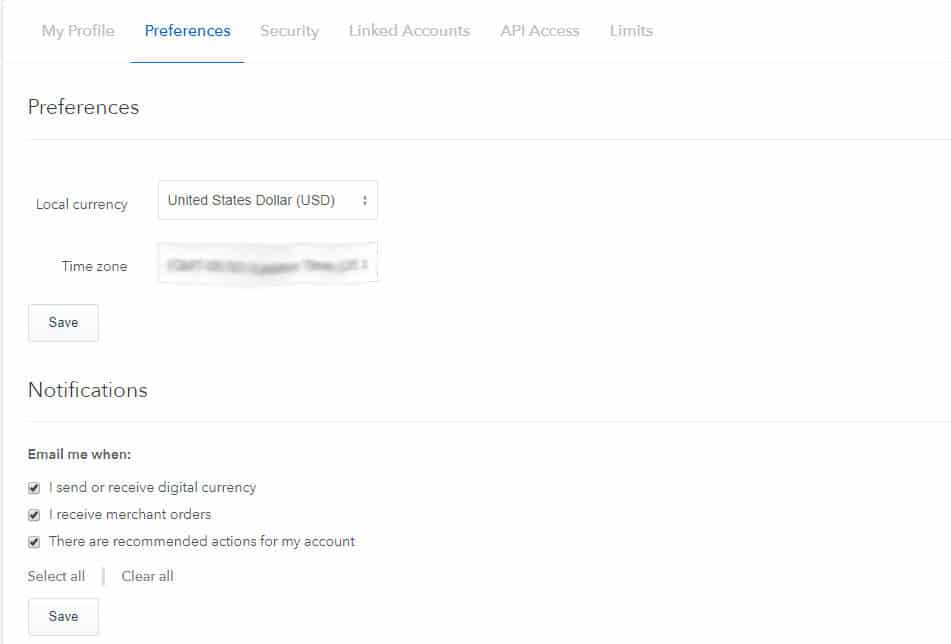
Preferences
Under the Preferences tab you will be able to list your local currency and time zone. Also, you can decide when and what emails you wish to receive.
Security
Under the Security tab, you will have your cell phone number (which you should have already verified). If not, add your cell home number and complete the verification process.
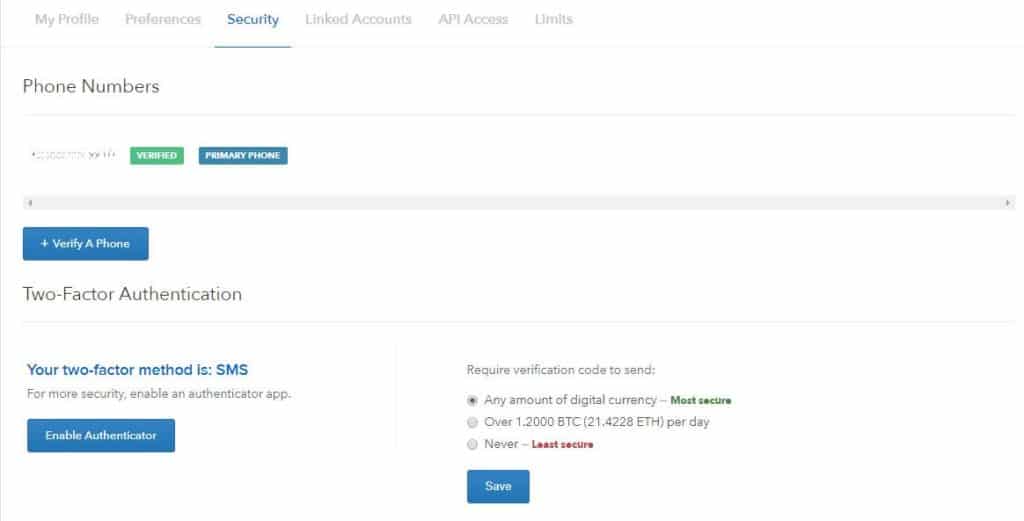
Then enable the Two Factor Authentication (2FA). This will cause you to receive a text message each time you log into your account. This is a great advantage to you because even if someone hacks your account, they still need your cell phone to complete the log-in process.
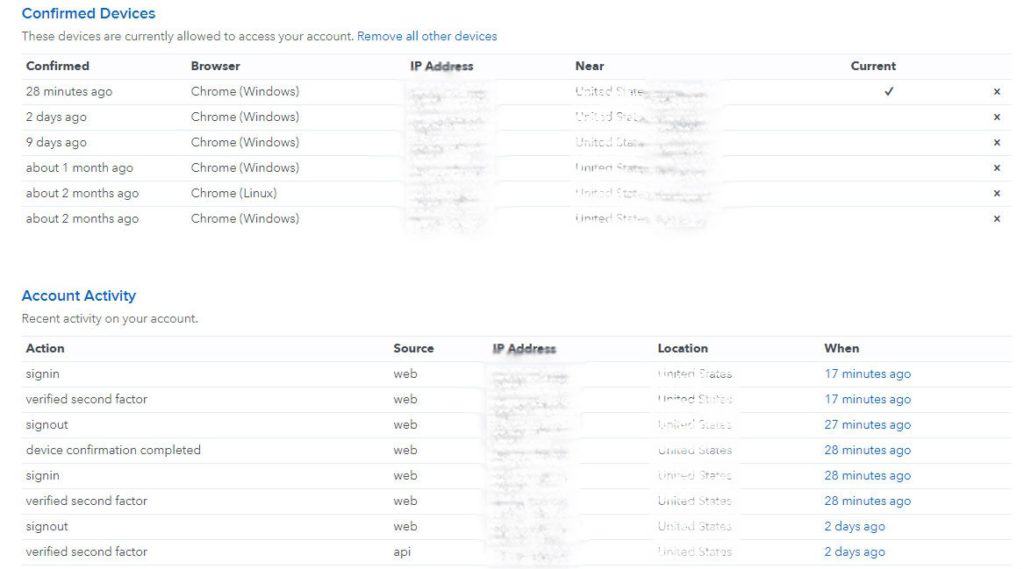
You will also be able to activate any third party applications on this tab. You will also be able a complete list of all the times you have logged into your account. This will include various information including the IP address as well as when this login occurred.
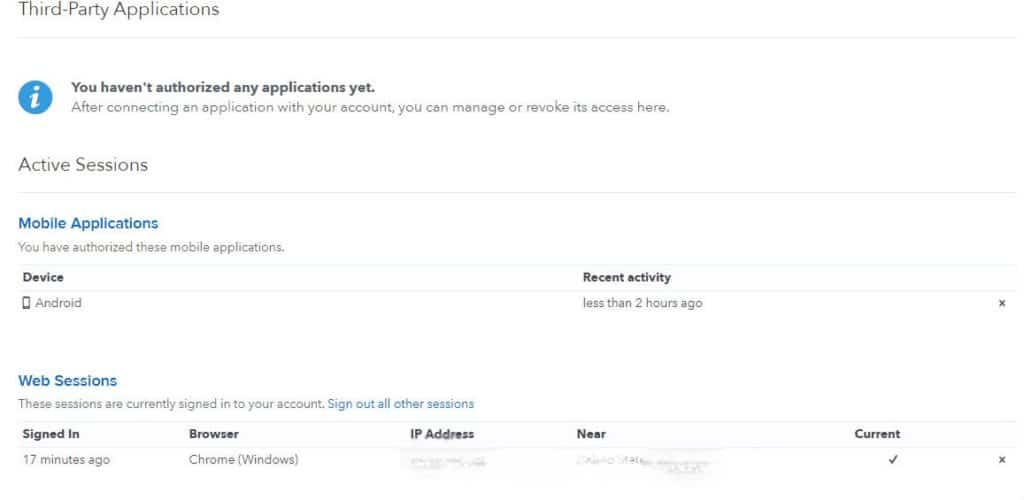
Finally, if you ever wish to close your account, it can be done from this tab.
Linked Accounts
The next tab is an important one. This is how you get your fiat currency to CoinBase.
You need to link the accounts you wish to use into the CoinBase interface.
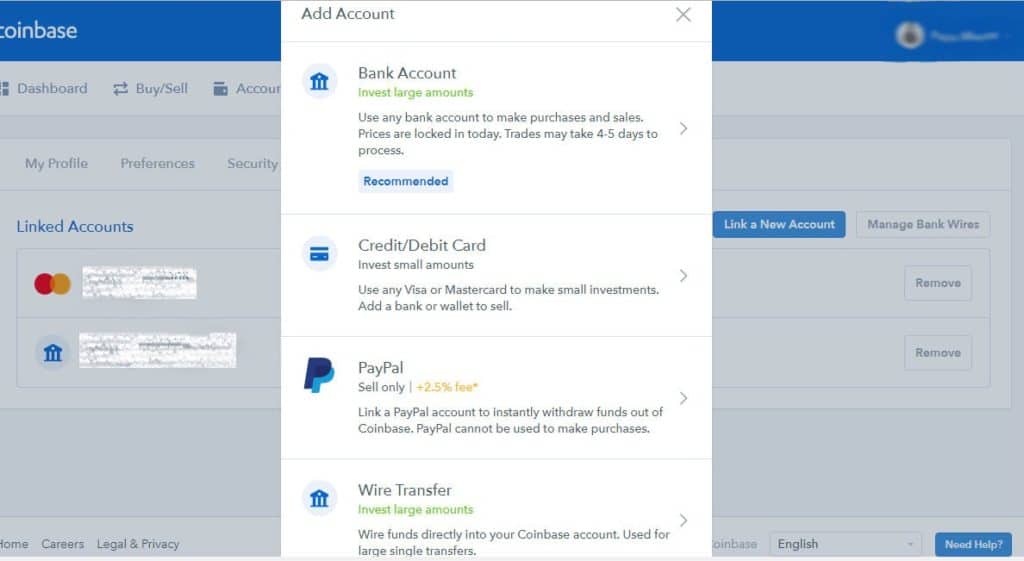
You can add a checking account, Visa or Mastercard, your bank account, PayPal or a Wire Transfer.
Add the accounts your want to use to transfer money from your bank to CoinBase.
API Access
The next tab will allow you to access CoinBase via API.
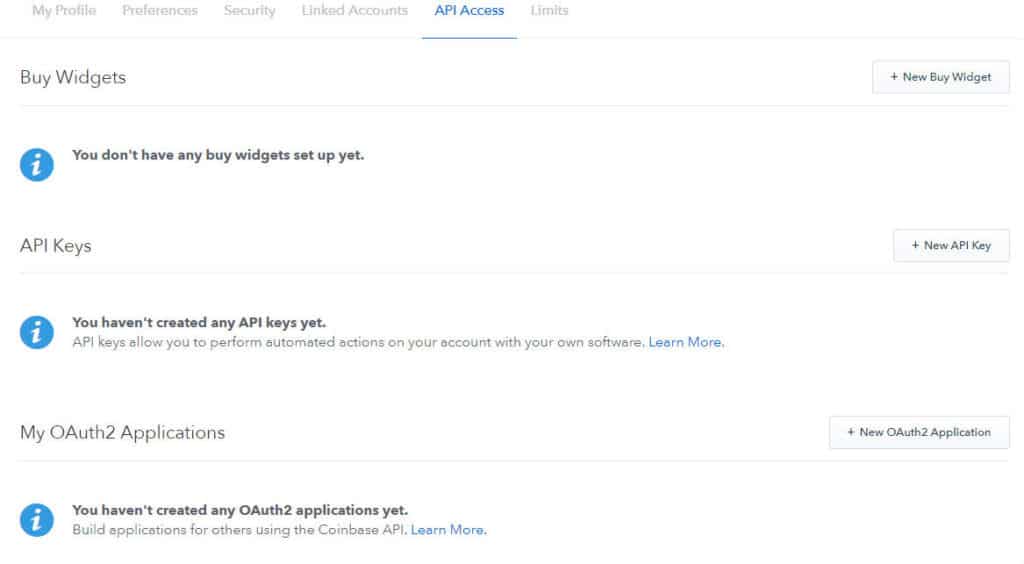
If you don’t know what API is, the CLICK HERE FOR MORE INFORMATION
Limits
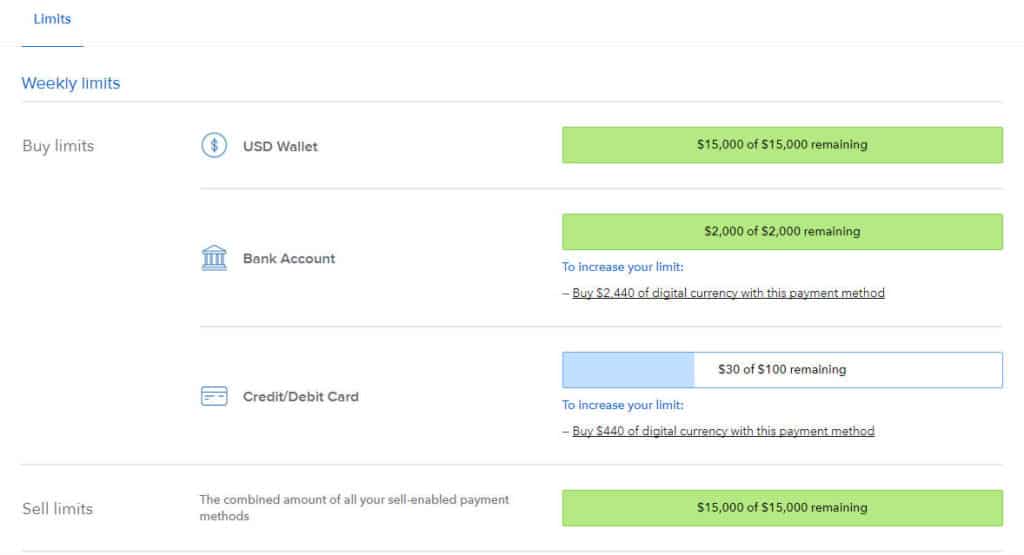
The next tab will tell you what your weekly limits will be for CoinBase.
[boxibt style=”info”]Most users who include a debit/credit card will be given a $100 USD weekly limit and a $2,000 USD weekly limit for bank accounts.[/boxibt]
There are links to increase these limits, but one of the drawbacks to CoinBase is these links NEVER WORK and when you contact Support, they are NON-EXISTENT.
Please note, that any transfers your make from your bank account (ACH), will take at least 5 business days to clear.
You can lower this time by completing a Wire Transfer from your bank. Just follow the prompts to complete this. Please note, that you will likely incur a fee from your bank for doing this.
Buy/Sell Tab
On CoinBase, as of the writing of this, you can buy or sell 4 different cryptocurrencies. These are Bitcoin (BTC), Bitcoin Cash (BCH), Ethereum (ETH) and Litecoin (LTC).
Click the Buy/Sell Tab. You will be taken to a screen that looks like this.
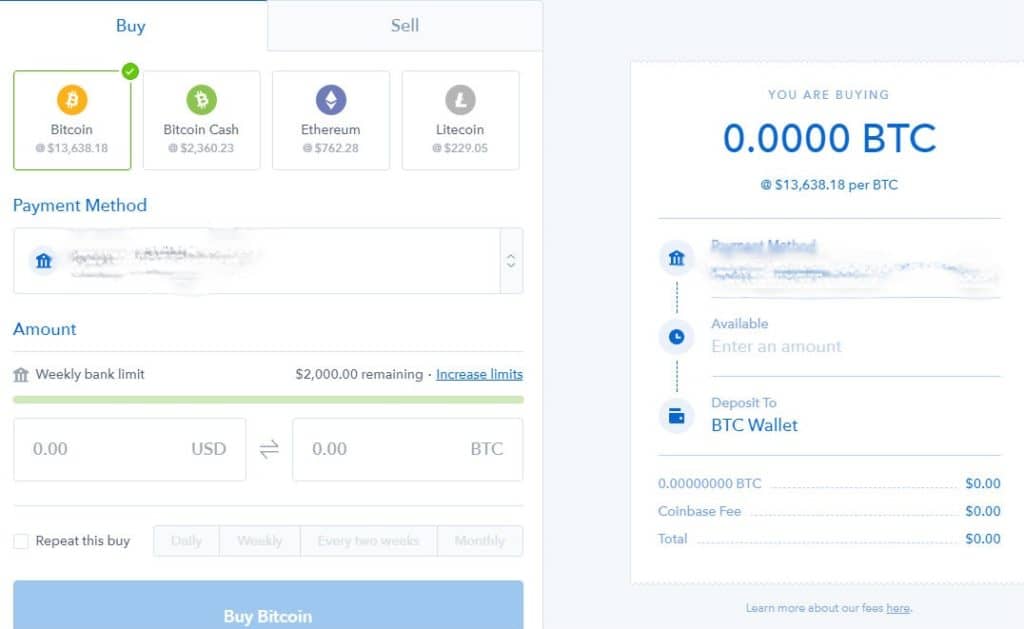
Start by choosing the coin you would like to buy.
Then choose the Payment Method. This will open into a drop down of all the verified payment methods you have confirmed.
Then choose the amount you want in the Amount Section.
The amount available to use will be reflective of the limits you have available in your account, minus any money you have already invested during the limit period (usually 1 week).
You can set this to be a recurring transaction. This is a great feature if you want to invest on a consistent basis without having to login each week.
Finally, click the Buy Button.
Note, that on the right hand side of the screen, it will give you a detailed breakdown of what you buying and how you are buying it.
At the bottom of this detailed area, you will see the amount, the CoinBase Fee and the total.
This leads us to the next major drawback to CoinBase… the fees.
CoinBase has very high fees with respect to the amount of coin you are purchasing. Some of these fees can be offset later once you purchase the coins and log into your Gdax account, which you get automatically once you sign up for CoinBase.
More on Gdax in a later post.
After you make your purchase, you will be led to a confirmation screen. Confirm your transaction.
If you purchased with credit/debit card (highest fees), your transaction is completed instantly.
If you used your bank account, there will be a 5 business day hold on your money. You should receive an email once the transaction has cleared.
Accounts
Once you have completed your transaction, you will see the results in the Accounts Tab (assuming it was an immediate transfer).
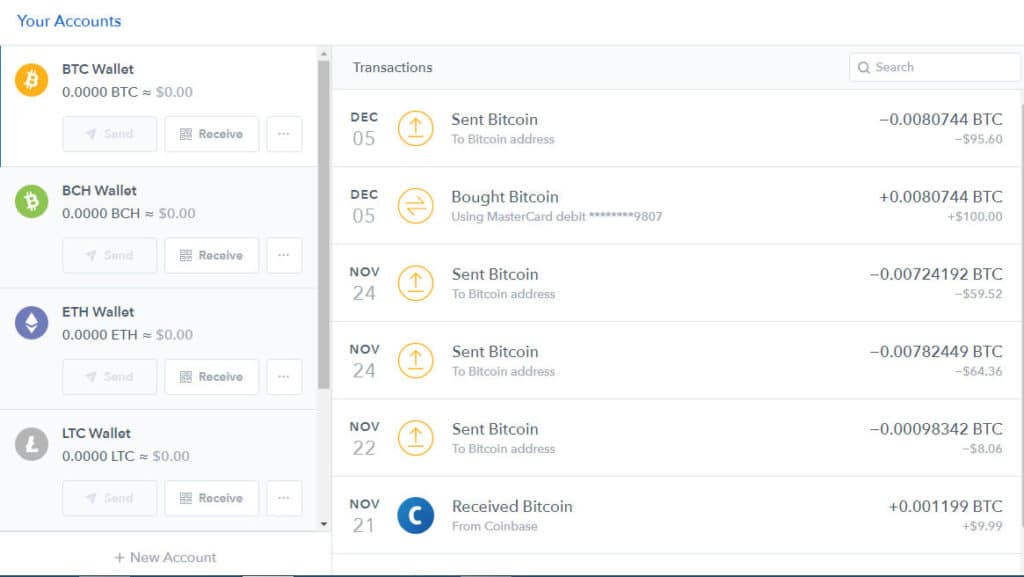
On the left hand side of the screen you will see all of your accounts listed. These accounts will include the total amount you have in each.
On the right hand side of the screen will be listed all the transactions you have completed for the account highlighted. You can look at the details of any transaction by click on the transaction in question and reviewing the details.
Send & Receive Coin
To send and receive coin is easy.
Click the Send Button on whatever coin you want to send.
This will open another screen where you can enter a wallet.
Remember, you have to have a wallet for whatever coin it is you wish to hold. There are various locations you can have these wallets, but we will discuss the different types of wallets, including the most to least safe ones in a later post.
To receive coin, just click the receive link, copy your wallet address, enter that from the site you want to receive your coin from and send.
Purchase Complete
Once your purchase is complete, then you decide what you want to do with your coin.
If you want to invest in one of the coins you just purchased (Bitcoin, Ethereum, BitcoinCash or LiteCoin) then you can do one of two things.
Either hold it in your CoinBase Wallet (NOT RECOMMENDED) or move it to another wallet (RECOMMENDED).
If you are moving the coin to another wallet, click the Send Button and enter the external wallet address in the appropriate box. Complete the confirmation and your coins will be sent to the wallet you want to store your coins in long term.
You can also use this method if you are looking to invest in altcoins. You can get the appropriate wallet address from the exchange you are using to trade, enter it and transfer the coins there. Once they arrive, you can trade them for whatever altcoin you want.
Tools
Under the Tools Tab you can set up additional wallet address. These addresses will be associated with your specific coin account.
Recurring Transactions
Under the Recurring Transactions Tab you can set up regular deposits into your various wallets, just like we spoke about previously.
Reports
Under the reports tab you can get CoinBase to generate reports to help you track various activity. These reports include, Transaction History for specific wallets, Buy/Sell History, Referral History and Coin Basis for Taxes (in Beta as of this writing).
History
Finally, the History Tab will give you a complete history of your transactions on CoinBase. You can down-load this to your computer, so you can track and log this information as you need to.
Pros & Cons
CoinBase, like most platforms has pros & cons. Here is a quick breakdown:
PROS
—> User Friendly Interface
—> Wallets Available to Hold Coins
—> Automatically obtain Gdax user interface
Cons
—> Extremely High User Fees
—> Tansaction Bottlnecks
—> Limited Customer Support
—> Inability to Increase Deposit Amounts
The bottom-line is, CoinBase is a great option for the newbie coming into cryptocurrency. It’s easy to use interface let’s even the most technologically challenged person have a fighting chance at success.
This is is offset by it’s high fees and slow coin transfer interface. Compounded with the currently extremely high Bitcoin Network Fees, makes using CoinBase an expensive option.
Please note, that some of these fees came be offset by using Gdax. You get an account immediately upon registering for CoinBase.
Gdax is operated by CoinBase. So this gives you access to your money with in any of your CoinBase wallets on the Gdax platform.
Sign up for a CoinBase account using my link – we will both benefit – we both get an extra $10 In Bitcoin – Register HERE
Disclaimer
The information provided here is for INFORMATIONAL & EDUCATIONAL PURPOSES ONLY!
View our complete disclaimer on our Disclaimer Page


