How To Create A Cryptocurrency Wallet
Last updated on July 24th, 2023 at 03:59 am
Buying cryptocurrency becomes easier to do every single day. But, one of the most important caveats of using crypto, being solely responsible for your assets, is often misunderstood by investors. Properly securing your cryptocurrency means using a cryptocurrency wallet.
You can create a cryptocurrency wallet by:
- Choosing the right type of wallet for you
- Setting up your wallet
- Backing up your the seed/recovery phrase for your new wallet
- Securing your seed/recovery phrase in a secure, offline location
The challenge for most people is properly securing your crypto investments. Choosing, creating, and backing up a crypto wallet can sometimes be a struggle.
However, properly securing your crypto assets doesn’t have to be all that difficult. Let this article be your guide to choosing the wallet that best meets your needs, setting that wallet up, and properly backing it up to protect your crypto investments.
Choosing The Right Crypto Wallet For You
Deciding what cryptocurrency wallet is right for you depends on what your plans are for your crypto assets.
Getting your cryptocurrency off your crypto exchange is important. Remember,
“Not your keys, not your Bitcoin”
– Andreas Antonopoulos
A crypto exchange wallet is controlled by the exchange itself. This type of wallet is called a custodial wallet.
Going forward the information provided here will be for noncustodial wallets. These crypto wallets put you in control of your private keys, thus, you are the person in control of your crypto.
Choosing A Hot or Cold Wallet
Cryptocurrency wallets can be put into two basic categories, hot wallets and cold wallets.
Generally speaking a hot wallet is a type of wallet that has direct access to an online connection. Conversely, a cold wallet is one that operates in an offline environment.
There is much more information and details about these two groups of wallets in another post. I strongly suggest you take a moment to read more about hot wallets and cold wallets before you make a final decision.
Though I’m going to review both of these wallet types below, this will be an overview. I suggest you take a more immersive dive into hot and cold wallets here.
Hot Wallet Options
This type of cryptocurrency wallet will best serve you if you are trading crypto, using crypto to make purchases often or if you’re sending or receiving crypto frequently.
Your wallet choices in this category are numerous. However, they can be broken down into online (web) wallets, desktop wallets and mobile wallets.
Each of these options comes with its own set of pros and cons, as well as security related challenges.
Security is an important piece of your cryptocurrency journey. I suggest you check this out to get a full picture of crypto related security.
To help provide you with a complete picture of each type of wallet, I have provided a link above to further explanations of each, as well as a table below with my recommendations for each type.
Cold Wallet Options
This type of cryptocurrency wallet will best serve you if you are planning to make an investment in crypto and hold it for a long period of time.
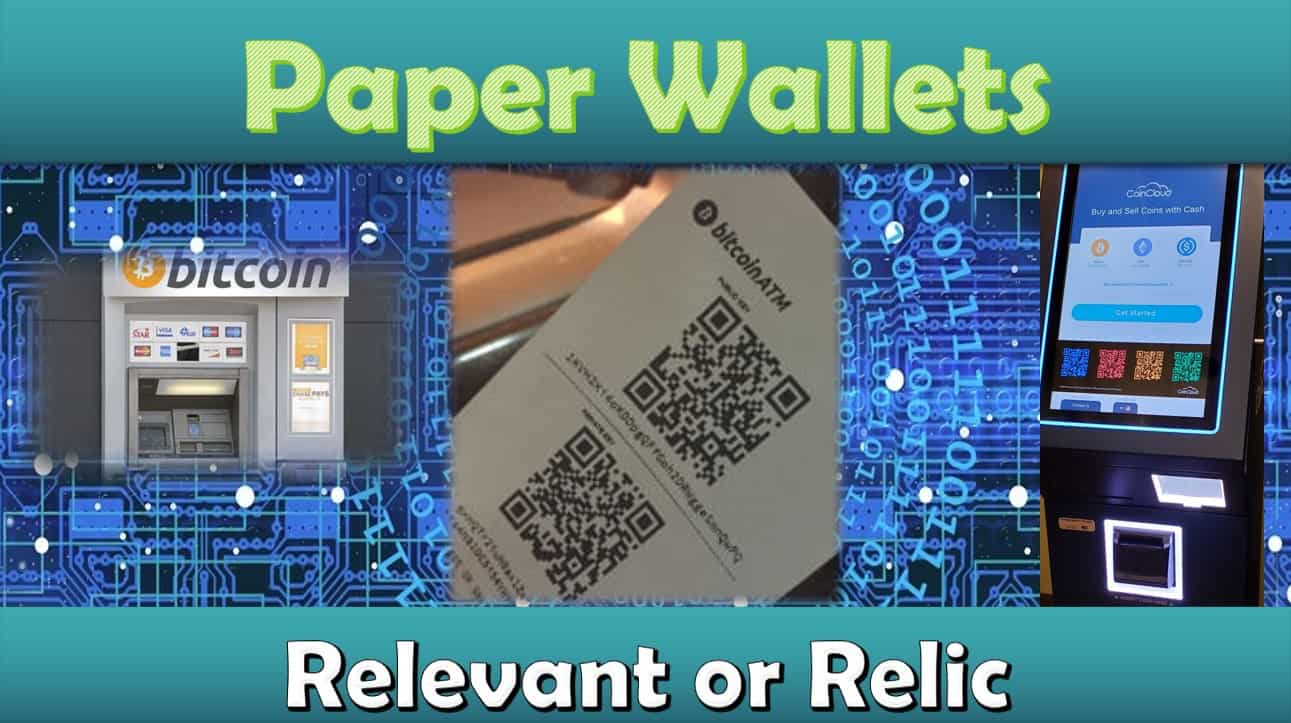
There are two options in this category of wallet, paper or hardware wallets.
Paper wallets are much less functional and have some drawbacks. However they are still used with Bitcoin ATMs. You can get a full explanation of paper wallets here.
The best option in this category is a hardware wallet.
Wallet Recommendations By Category & Type
| Category of Wallet | Type of Wallet | Recommendation |
|---|---|---|
| Hot | Online (Web) Wallet | MetaMask or Blockchain.com |
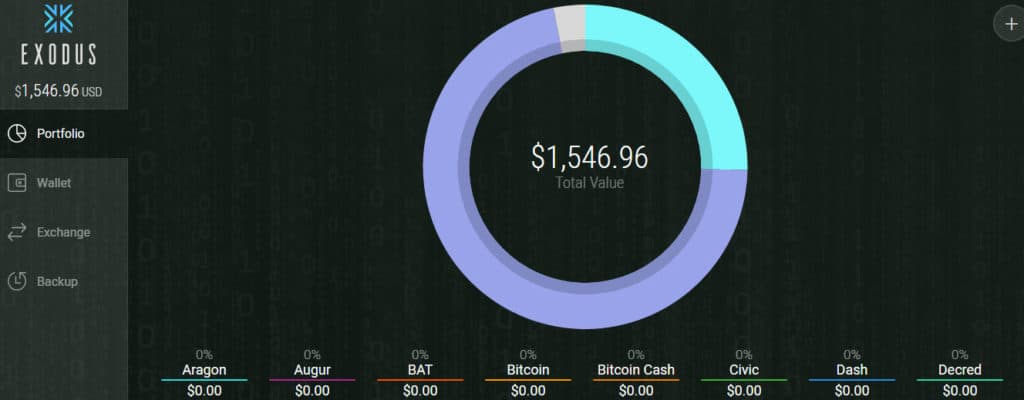
| Hot | Desktop Wallet | Exodus |
| Hot | Mobile Wallet | Trust |
| Cold | Hardware Wallet | Ledger |
Creating Your Cryptocurrency Wallet
Once you’ve decided exactly what cryptocurrency wallet works best for you, it’s time to set up your wallet.
Many of the steps for setting up a crypto wallet are the same, with very minor and often UI (user interface) differences.
SECURITY TIP: NEVER share this secret phrase with anyone. Your recovery phrase can be used to regain access to or import your wallet.
Online (Web) Wallet Set-up
Though there may be minor differences in the set-up process depending on exactly which wallet provider you choose, these are the basic steps you must complete to be able to use your wallet.
- Make sure you are on the official website URL for your wallet (All My Recommended Links Are Official)
- If a browser extension is required, install the official extension from the Chrome Extension Store.
- Begin the set-up, some online wallets require an email address. I suggest using an encrypted email.
- You will be asked if you want to import a wallet or create a new wallet. Select the new wallet option.
- Copy your 12 or 24 word seed or recovery phrase. Be sure to copy your phrase correctly and in the correct order.
- You will be required to enter all or some of your seed/recovery phrase to verify you have copied it. This process is referred to as backing up your wallet.
- You will be required to create a password. Be sure you create a strong password.
- Store your password & your seed/recovery phrase in a secure location, such as a fire-proof safe. For increased protection, consider putting this sensitive information in multiple locations.
SECURITY TIP: Do NOT store your seed/recovery phrase on any device connected to the internet, this includes cloud storage services.
Desktop Wallet Set-up
Again, there may be minor differences in the set-up process depending on exactly which desktop wallet you choose, these are the basic steps you must complete to be able to use your wallet.
- Make sure you are on the official website URL for your wallet (All My Recommended Links Are Official)
- Download the wallet file to your computer.
- Begin the set-up by opening the .exe file for the wallet. This should be located at the bottom of the browser you used to download the wallet.
- Once the wallet is done loading on your device, you will be asked if you want to import a wallet or create a new wallet. Select the new wallet option.
- Copy your 12 or 24 word seed or recovery phrase. Be sure to copy your phrase correctly and in the correct order.
- You will be required to enter all or some of your seed/recovery phrase to verify you have copied it. This process is referred to as backing up your wallet.
- Store your seed/recovery phrase in a secure location, such as a fire-proof safe. For increased protection, consider putting this sensitive information in multiple locations.
PRO TIP: If you’re downloading a wallet that requires you to also download the entire blockchain, the wallet will create a .dat file. Be sure to also save a copy of this file in a safe location, such as an external drive.
Mobile Wallet Set-up
There may be minor differences in the set-up process depending on the type of cell phone you have, and the mobile wallet app you choose, these are the basic steps you must complete to be able to use your wallet.
- Make sure the app you select is the one recommended on the official website URL for your wallet (All My Recommended Links Are Official)
- Download the wallet app to your phone.
- Once installed, open the app.
- Some wallet apps require you to connect your cell phone number. For increased security, consider using a dedicated crypto cell phone.
- You will be asked if you want to import a wallet or create a new wallet. Select the new wallet option.
- Copy your 12 or 24 word seed or recovery phrase. Be sure to copy your phrase correctly and in the correct order.
- You will be required to enter all or some of your seed/recovery phrase to verify you have copied it. This process is referred to as backing up your wallet.
- Store your seed/recovery phrase in a secure location, such as a fire-proof safe. For increased protection, consider putting this sensitive information in multiple locations.
These types of wallets are a less secure category of crypto wallet. If you choose one of these wallets, you should understand how hacks can occur as well as what you can do to increase your security.

Hardware Wallet Set-up
There will be minor differences in the set-up process depending on the type of hardware wallet you choose. The steps below are for setting up a new Ledger hardware wallet.
Ledger and Ledger Live have a sleep auto-lock feature (default 10 minutes). This feature can be disabled in settings to help smooth the set-up process.
- Make sure you only order a hardware wallet directly from the manufacturer official website URL (All My Recommended Links Are Official)
- Once you receive your device unpack it and locate all of the materials included.
- Connect your Ledger to your computer with the included USB cable.
- In your secure browser navigate to Ledger Live.
- Install Ledger Live on your computer.
- Choose the exact Ledger you purchased from the options presented.
- Select set-up a new device. Navigating on your Ledger device can be done with either of the two buttons, to select an option you hit both buttons simultaneously.
- On the device, select set-up as new device.
- Create a PIN code (4-8 digits) and confirm.
- Write down your 24 word seed/recovery phrase.
- Confirm your recovery phrase by toggling through the words and selecting all 24 of them in the correct order.
- Store your seed/recovery phrase and your hardware wallet in a secure location, such as a fire-proof safe. For increased protection, consider putting this sensitive information in multiple locations.
- Allow Ledger to do a Genuine Check to ensure you have an actual, authentic device.
- Ensure that the device firmware is the latest operating version.
- Install the app for the crypto assets you want to store.
- You will create accounts for the crypto assets you want to store. This is completed on Ledger Live and the actual device.
- Obtain your wallet address to the assets you have installed on your Ledger. Once you have copied these addresses, you can disconnect your Ledger from your computer.
PRO TIP: There is no need to connect your Ledger device to your computer in the future once you know the wallet addresses.
Testing Your New Wallet
When you set up a new cryptocurrency wallet, this is an address you have not yet sent any crypto to.
In these cases especially, it is common practice to send only a small amount of a crypto asset initially to confirm that everything is set up correctly.
Remember if something goes wrong sending or receiving a crypto asset, there is no customer support. Your crypto could potentially be lost forever.
This practice is something even the large crypto whales and institutions follow.
Afterall, who wants to send thousands or even millions of dollars worth of Bitcoin or another crypto to an unverified address only to have it lost to the blockchain forever?
Questions Related To Cryptocurrency Wallets
Once you’ve been around the crypto space for a while, you will understand the need for a cryptocurrency wallet. You’ll even understand the importance of having more than one.
Initially however, it may not make sense why you actually need one. Check This Out To Understand Why You Need A Crypto Wallet.
Disclaimer
The information provided here is for INFORMATIONAL & EDUCATIONAL PURPOSES ONLY!
View our complete disclaimer on our Disclaimer Page